You’ve discovered the perfect cabinetry for your kitchen. But you already live in an apartment or home that has cabinets installed. So now what? If you’re wondering how to remove kitchen cabinets, we’ve got some suggestions.
1. Gather Tools
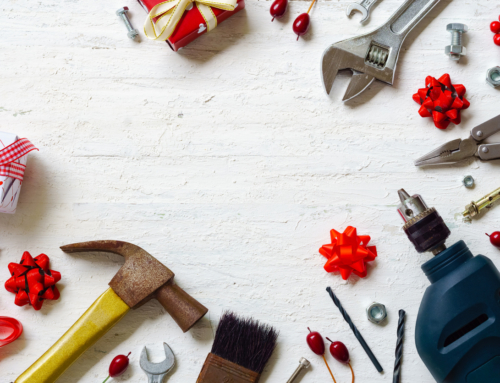
Before you start to remove your kitchen cabinets, you’ll need to gather up some tools that will come in handy during the removal process. These include:
- Screwdriver
- Electric Drill
- Voltage Detector Pen
- Pry Bar
We also suggest getting a friend or family member to help out. An extra pair of hands will be very useful during the removal process.
2. Clear Out Cabinets
Remove everything already inside the cabinets, like food, dishes, etc. You’re going to need to access all parts of the cabinet. Plus, since you want to remove kitchen cabinets and most likely replace them, it doesn’t make a great deal of sense to keep everything in them.
3. Turn off Water in Sink
If you’ve got some base cabinets located along the floor that need to be removed, you’ll likely need to remove your counter tops with it. And detaching your counter tops means your sink will likely need to be taken out as well.
This is why you’re going to want to turn off the water supply to your sink for the time being. This will prevent any unnecessary flooding that could occur.

4. Turn off Electricity in Room
It’s always a safe bet to also turn off the electricity in any room you’re about to do some heavy moving in. You’ll be operating and working around a lot of electrical outlets while figuring out how to remove kitchen cabinets.
Turn off the breakers in your fuse box labeled “kitchen.” Then, to check that the power is well and truly off, use a voltage detector pen to test the wires in the lights themselves. If the pen lights up, then the power is still hot, and you should go back to the breaker box and reassess it.
5. Protect Counter Tops
Keeping your counter tops? In the event you don’t need to remove them for base kitchen cabinet removal, you’ll want to protect them. Lay a sheet over the top of the counters. And to keep things extra safe, place a piece of plywood on top of the sheet in case you drop anything–the board will take the dents and scrapes.
6. Start by Removing the Trim or Molding
The trim or molding needs to be removed before you can start on the actual cabinets. Use a pry bar or a similar tool to rip away the interfering pieces.
7. Remove Doors First
To start the actual cabinet removal process, begin with the doors. Locate the hinges and find the screws in the hinges. Unscrew them. The doors should come off easily.
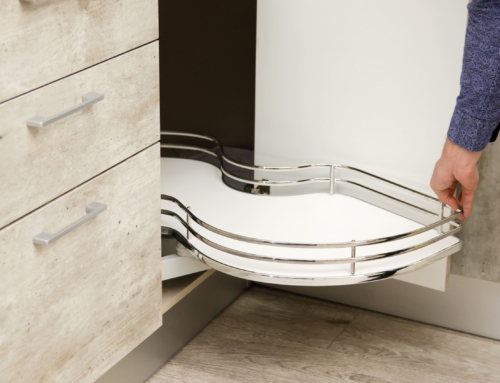
8. Detach Cabinets
If you don’t have a friend helping you out, there’s potential for cabinets to fall as you unscrew them. In this case, we suggest using lumber propped up underneath the cabinets. These act as support blocks for the cabinets.
To avoid damaging your wall, be careful as you remove the cabinets. The pry bar will come in useful here, but again, proceed with caution and do things gently.
Learn More About Kitchen Cabinets from Cabinet Corner
To find out more about kitchen cabinets, where you can find great RTA cabinets, and more, check out our blog today.