If you are ordering ready-to-assemble (RTA) kitchen cabinets, they might not be the exact color you want. Our cabinets are pre-finished and we do not advise customers to refinish or paint. That being said it is a huge undertaking and we have had customers successfully do this and they were extremely satisfied with the results and savings. So if your ready for the challenge you may need to roll up your sleeves and get in paint mode, because painting your kitchen cabinets is the perfect way to make them exactly what you want!
Whether you are part way through construction or just starting a remodel in your home, these three tips will help you to prepare, choose a color, and paint your DIY kitchen cabinets correctly!
Patience is Key
Before you start picking colors or assembling your cabinets, you’ll want to get into a mindset of patience.

Having patience is important as a lot of things can go wrong when painting cabinets—and probably will with the DIY job too. Rushing the job makes everything worse, and unrealistic expectations will lead to disappointments. Here’s how to slow down:
- Schedule the whole DIY painting project to take about a week. If you get done sooner, that’s a bonus.
- Be ready to make a mistake and have to repeat a step.
- Expect the wood to be uncooperative. Some uneven wood grain can poke through your paint job. You might see some uneven areas, even after sanding.
- Study the cabinet assembly instructions. Know where each piece is supposed to go, and lay them out on your painter’s plastic in a way that makes assembly easy later.
- Don’t assemble the cabinets before your paint is dry! Maybe tack on an extra day of drying just to be sure.
Be Picky About Color

This whole enterprise is a waste if you don’t pick the right color for your cabinets. So how do you pick the right color? Well, the right color depends on the situation and the style of cabinet. Here are some tips:
- Use a Color Palette. Get out a chart of complementary colors, and choose a cabinet color that will complement the color of your flooring or countertop or both.
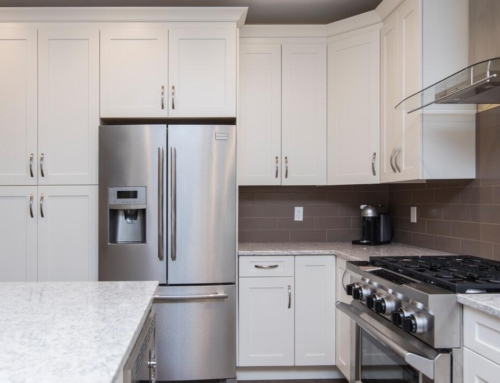
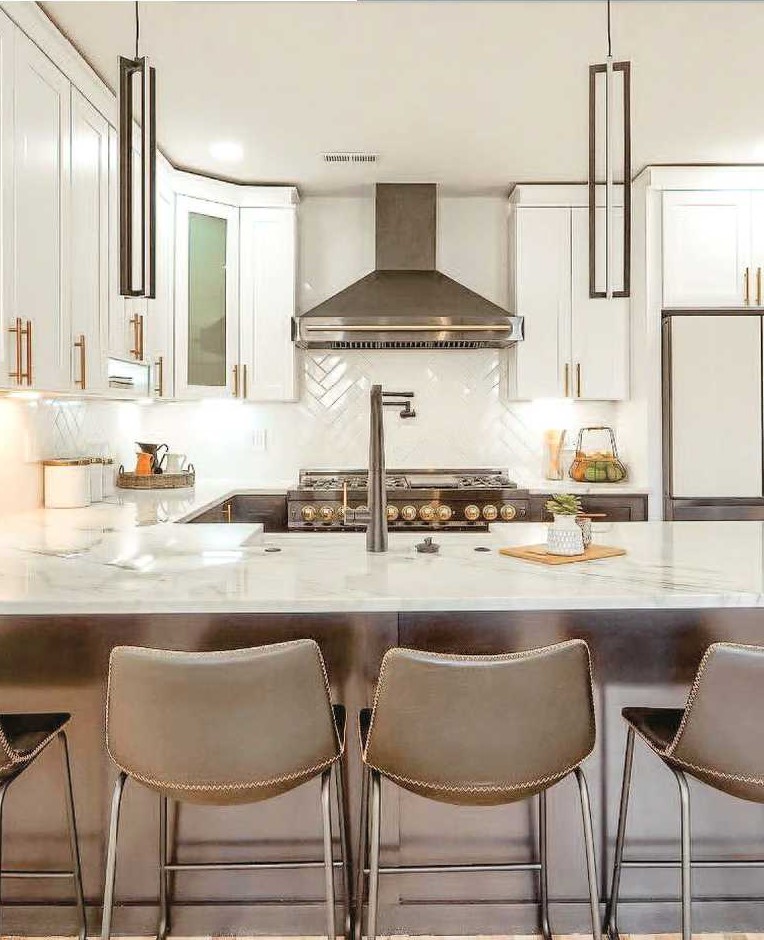
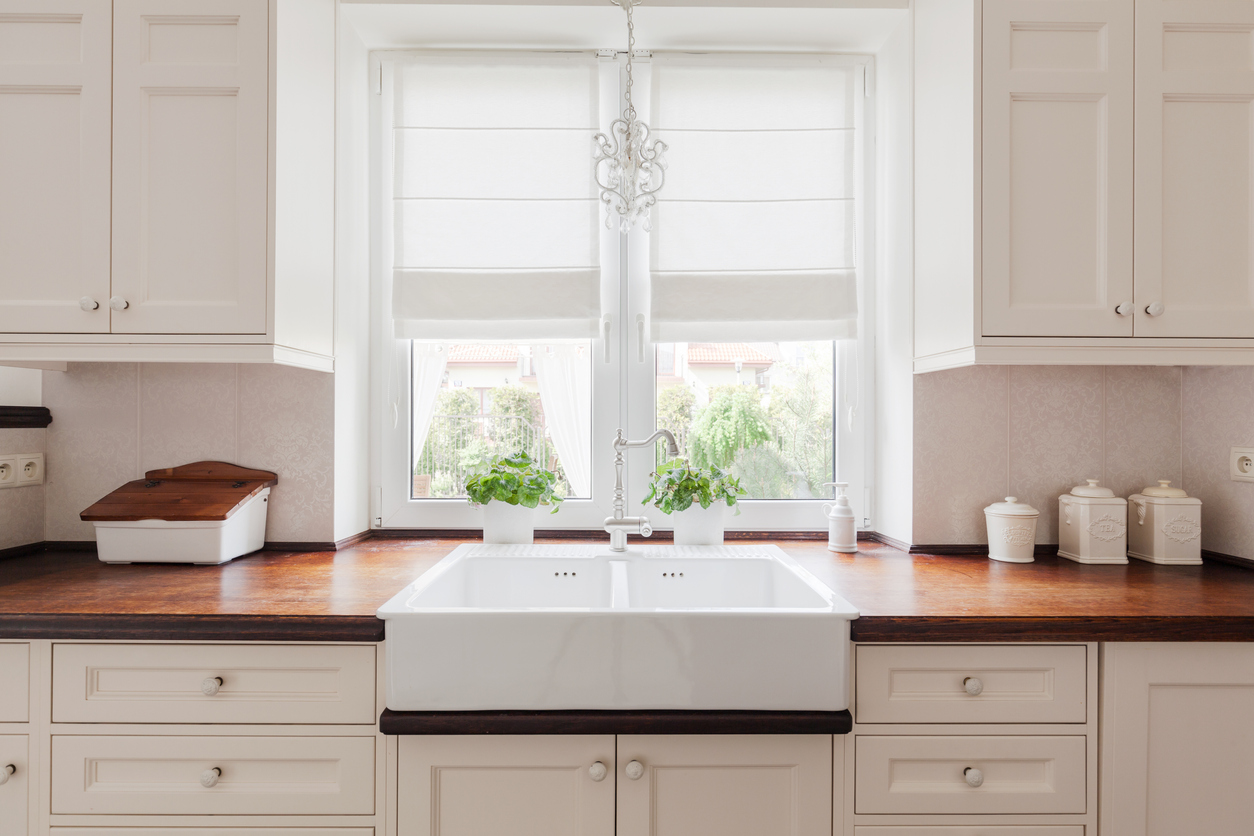
- Look at Kitchen Style. If your kitchen is a traditional style like Shaker, cream or white cabinets are great (and we sell White Shaker cabinets!). But a modern or contemporary kitchen could have yellow, red, green, or even black cabinets.
- Paint for the Size. Dark colors look great in larger kitchens. But a small kitchen can be brightened with a lighter color.
- Choose between Neutral and Unique. Neutrals are perfect if you’re in construction or are about to sell. They create a canvas for the style of the next homeowner. But unusual colors can be great for your own DIY kitchen or a special style. Some color examples you can try are yellow, sky blue, mint green, or blue-green.
Be Like a Boy Scout
Be prepared! DIY painting has to be methodical. Keep this standard painting process in mind, even if you modify it a bit for RTA cabinets.
- Clean every piece. Dust it. Rub it down with a soapy sponge. Dry it with a good towel.
- Sand every piece that will be painted. Use medium-grit sandpaper or about 100- to 200-grit.
- Prepare each piece with a paint primer. Dry them overnight (patiently).
- Sand every surface again (patiently).
- Paint all the prepared surfaces with a mini roller and/or angled brush.
- Let the paint dry overnight.
- Let it dry a little longer.
- Be sure the paint is totally dry before assembling the cabinets.
We have a range of durable, low-cost cabinets that anyone can assemble quickly. We use high-quality wood panels that are made to last for many years. Shop our beautiful kitchen cabinets and simply contact us with your order today.